Although there aren’t many guarantees in parenting, one thing you can count on is that your child will grow up ridiculously fast. It’s cliché, but it’s true. And while you can document their almost daily changes with thousands of photos (and the receipts for all the new clothes and shoes you have to buy), another creative way to mark their growth is with a DIY growth chart. Sure, you can mark your doorway with a pencil to keep track, but I decided to get a bit more creative and make an easy DIY polka dot growth chart for my kids.
If you’ve got some old curtains or access to a fabric store, and absolutely zero sewing skills, then this DIY milestone polka dot growth chart is for you.
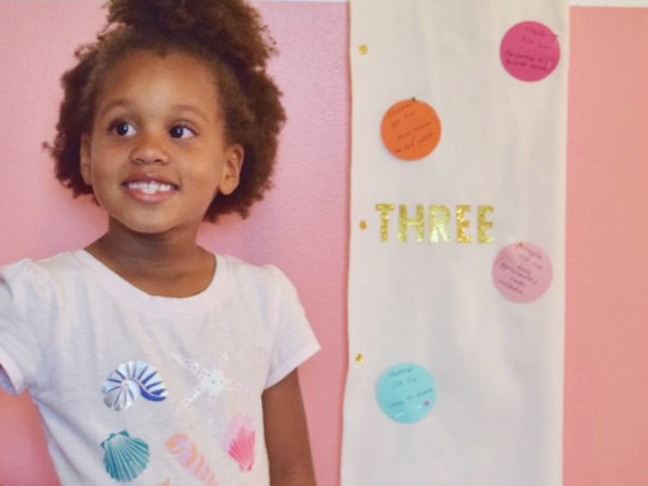
This growth chart stands out from the rest because you can personalize it with special memories, personality traits and milestones at each height check. Follow my simple step-by-step instructions below to make your own growth chart for your family:


DIY Growth Chart for Kids
Supplies:
2-1/4 yd muslin or cotton fabric
adhesive glitter number or letter stickers
tape measure
scissors
2″ circle craft punch
scrapbook paper
Straight pins
pen or pencil
hot glue (optional)
Instructions:
Step 1: Cut a 6.25 ft x 18 inch wide piece of the fabric. Iron the fabric to remove any wrinkles or creases.
Step 2: Lay the fabric on the floor with a large protective sheet or cardboard underneath the fabric. Lay a tape measure along the length of the fabric. Using a pen or pencil, lightly mark every six inches.
Step 3: Using the adhesive number or letter stickers, mark each whole foot. Adhere the stickers with hot glue for increased longevity. For example, at the 2 ft mark, apply either a “2” or “two” sticker. For the 1/2 ft measurements, create hyphen or dot indicator using the period of dot from exclamation point stickers. (see image 3)
Step 4: Repeat for each number and its hash marks.
Step 5: Set aside to dry.
Step 6: Using a circle punch, create several scrapbook cutouts. On each circle, write the child’s name, height, and memorable sayings, likes/dislikes, and other fun facts about your kiddo. Pin the circle next to their height on the chart each time you measure them.
Step 7: The lightweight growth chart can be easily hung with small nails, push pins, brads, or a dowel rod. Choose the option that works best for your situation, whether your rent or own your home.


