I love the resurgence of the shadowed profile popping up in decor these days and thought I’d put a sewing spin on it. Choose your colors and instantly add an heirloom portrait to your decor.
MATERIALS (for 16×20 size)
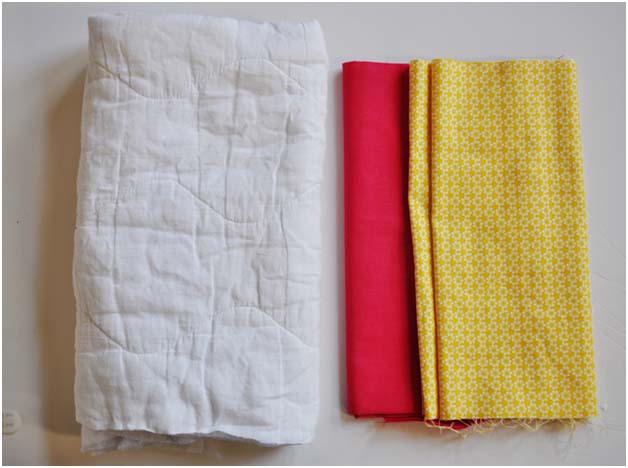
- 1/2 yard background material
- Scrap fabric for silhouette
- Scrap of fusible interfacing
- Batting (I used an old mattress pad)
- Sewing machine and supplies
- Ready frame with backing
INSTRUCTIONS
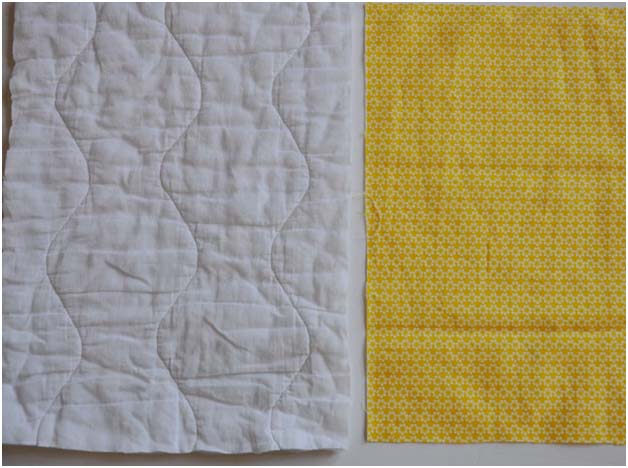
Cut your batting and background material a little larger than your your frame and backing. I am making a 16×20 picture so I cut my fabrics to 20×24
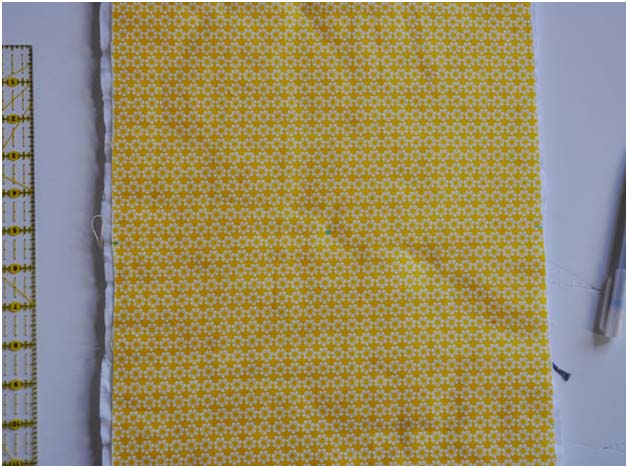
Place the background fabric on top of the batting and find the exact center of the piece. Place a mark right in the center using an air erasable pen.
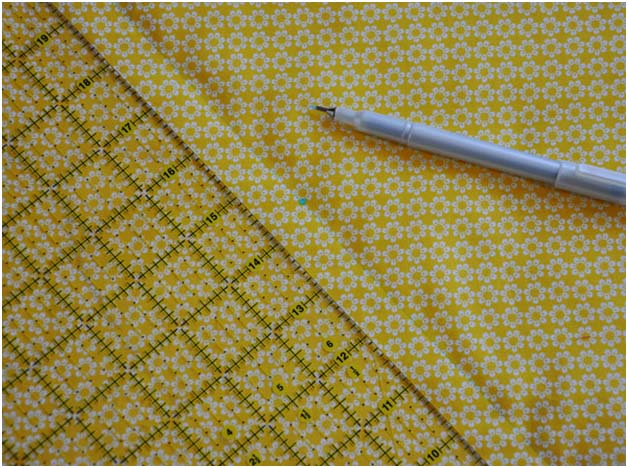
Draw a diagonal line using the center mark as a guide. Pin down the line and sew a straight line right down the line.
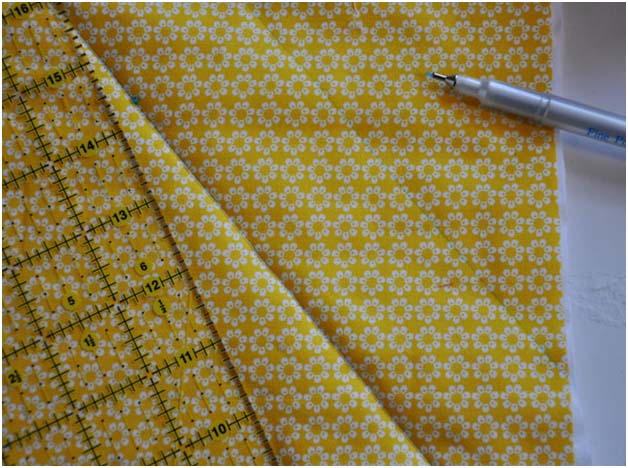
Using a ruler, mark another line 3″ away from the just-sewn line. Sew and repeat until the background piece is full.
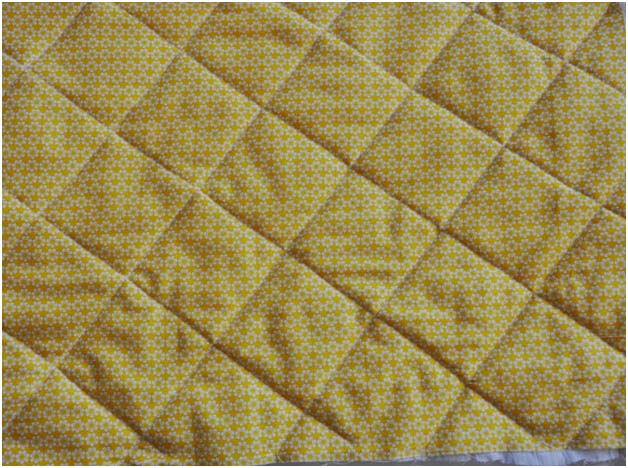
Turn and sew diagonal lines the other way to create a quilted look
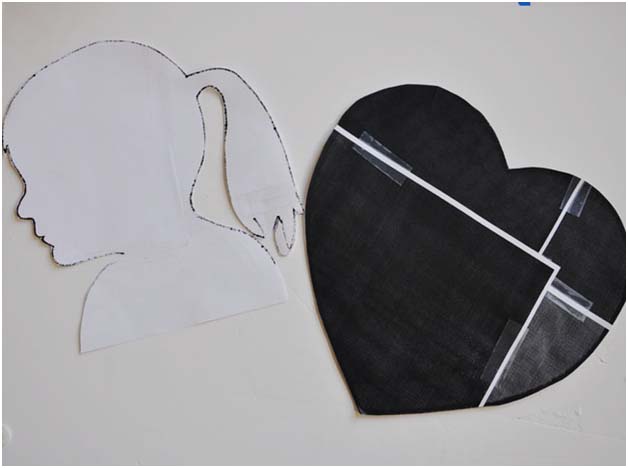
Print out a silhouette shape that you desire. For the profile, I took a picture and enlarged and printed out. I then traced the shape with Sharpie and used and exacto knife to cut out.
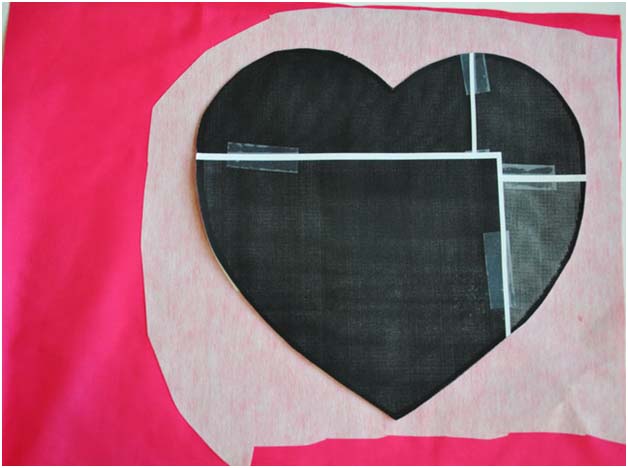
Adhere a piece of fusible interfacing to your silhouette fabric. Place the silhouette shape onto the interfaced fabric and trace the shape onto the interfacing lightly using a sharpie.
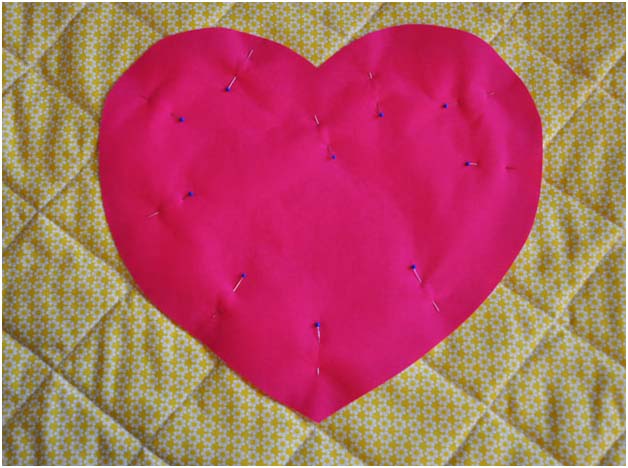
Center and pin the shape to your quilted background fabric.
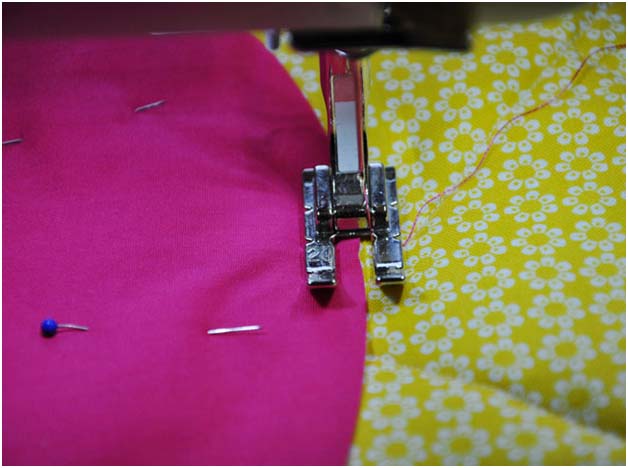
Using a long and tight zig zag stitch, sew the shape down. Make sure to go slow, especially around curves and corners!
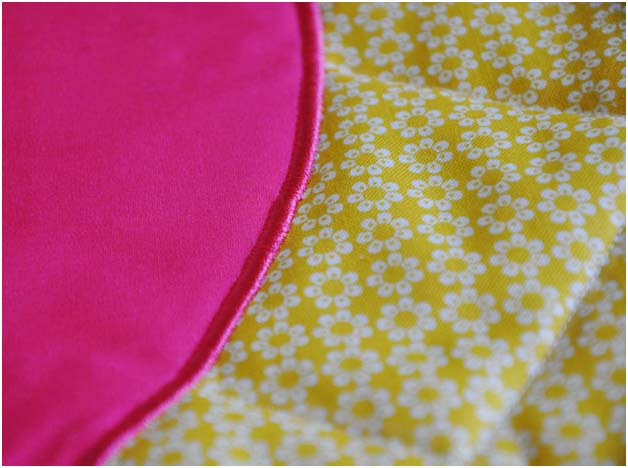
Finish the entire edge
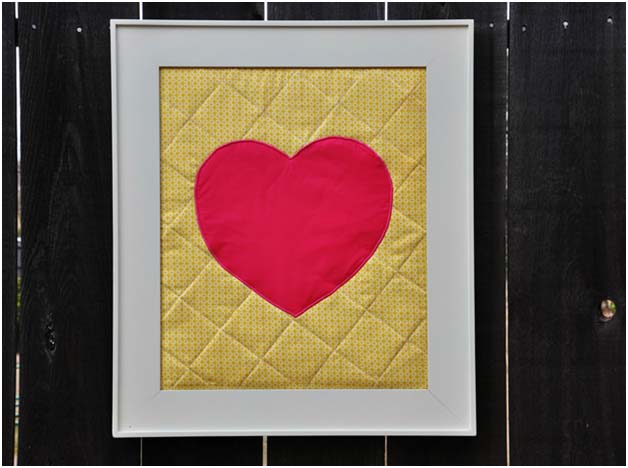
Hang in your favorite room and listen for the ooohs and aaaahs!