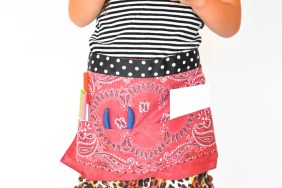

For anyone who knows our family, it’s no secret: my daughter is quite the girly girl. She loves to express herself with fashion—quite the surprise for me since she’s only just three—and my husband and I are very supportive of her desire to do so. She’ll tell me she’s bored of a dress after she’s worn it only once or twice which clearly does not work for our budget. The only remedy is to have plenty of accessories on hand so that she can mix up her look. Leggings, headbands, and belts are right up her alley.

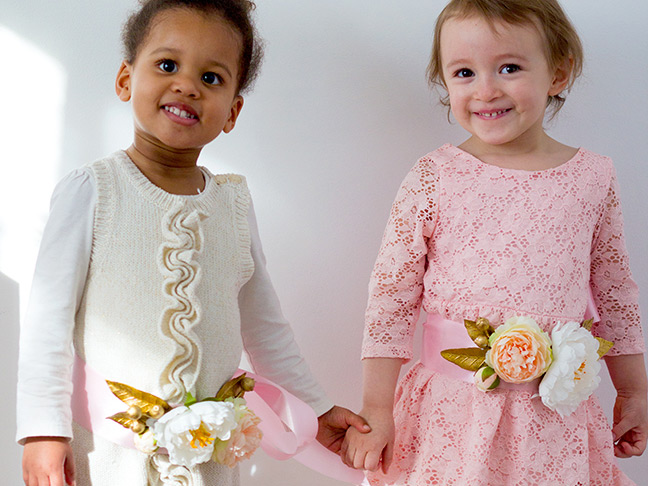
Even at three, Aurora is still lacking a little in the hair department, so I thought a hair accessory would probably look huge on her head. Knowing that she has a ton of spring dresses waiting for her when the weather warms up here in Minnesota (unfortunately, we’re looking at May before that happens, most likely…), I thought it would be tons of fun to do some DIY floral sashes with silk flowers for her. The larger scale would work better on her torso even though she’s tiny, and it would really upgrade a simpler dress.
The final verdict? Love doesn’t even describe it. She was dancing around in it the whole time we were trying to take pictures of her in it, and she even tried to negotiate being able to wear it to sleep. With such a great look and such an easy crafting process, you should absolutely put this DIY floral sash on your to-do list for the ladies of the house, and let them enjoy it as much as Aurora has.
RELATED: 101 Flower Arrangement Tips, Tricks, & Ideas for Beginners
(PS: Thanks to my dear pal and fellow Momtastic contributor Shauna Younge for letting me borrow her darling daughters as models for these sashes, as well. The above pic of my daughter, Aurora, and her daughter, Lila, melts my heart into a giant puddle.)
Supplies
- silk flowers (my favorites are from Afloral)
- gold painted silk filler from Afloral
- wire cutters
- hot glue gun and glue
- scissors
- 2″ wide floral grosgrain ribbon

Instructions:
Step 1: Cut a length of ribbon that will fit around your child’s (or your!) waist with enough additional length so that it can be tied in a bow at the back. Notch the end of the ribbon to finish off the edge by cutting into the ribbon toward the center at a 45-degree angle on both sides of the ribbon edge. Tip: Use the grosgrain you will find in the silk floral department of most craft stores. In my experience, they’re more rigid than your typical grosgrain ribbons even though they’re not wired, so they hold up better to cutting and won’t fray as much.)
Step 2: Trim the flower heads off of the silk stems you plan to use for your sash. You want to cut high enough up the stem so the flower will sit flat on the ribbon, but not so far up that you cut off the plastic backer that holds the layers of fabric together. Arrange them to the side of the ribbon without gluing down, then complement the composition with some of the gold-painted filler leaves tucked underneath.

Step 3: Position your cut ribbon so the center of the length is next to your silk flower composition. Heat up your glue gun and glue the individual elements down so the original composition stays intact. I found it was easiest for me to transfer the filler leaves onto the ribbon first and then glue the larger floral elements down afterward, but you can easily work the opposite way if that works best for you.
Step 4: Remove any hot glue strings that may have been left behind, and give a gentle wiggle to the elements on the ribbon to make sure everything is properly secured. Add more hot glue to any areas that don’t seem properly secured, then let cool and wear when ready.
Images by Maddy of Splendid Supply Co.
More DIYs for Kids: