I love Christmas more than the average person. The decorations, food (especially Christmas desserts), shopping, gift giving, time with family and friends. I love everything about it.
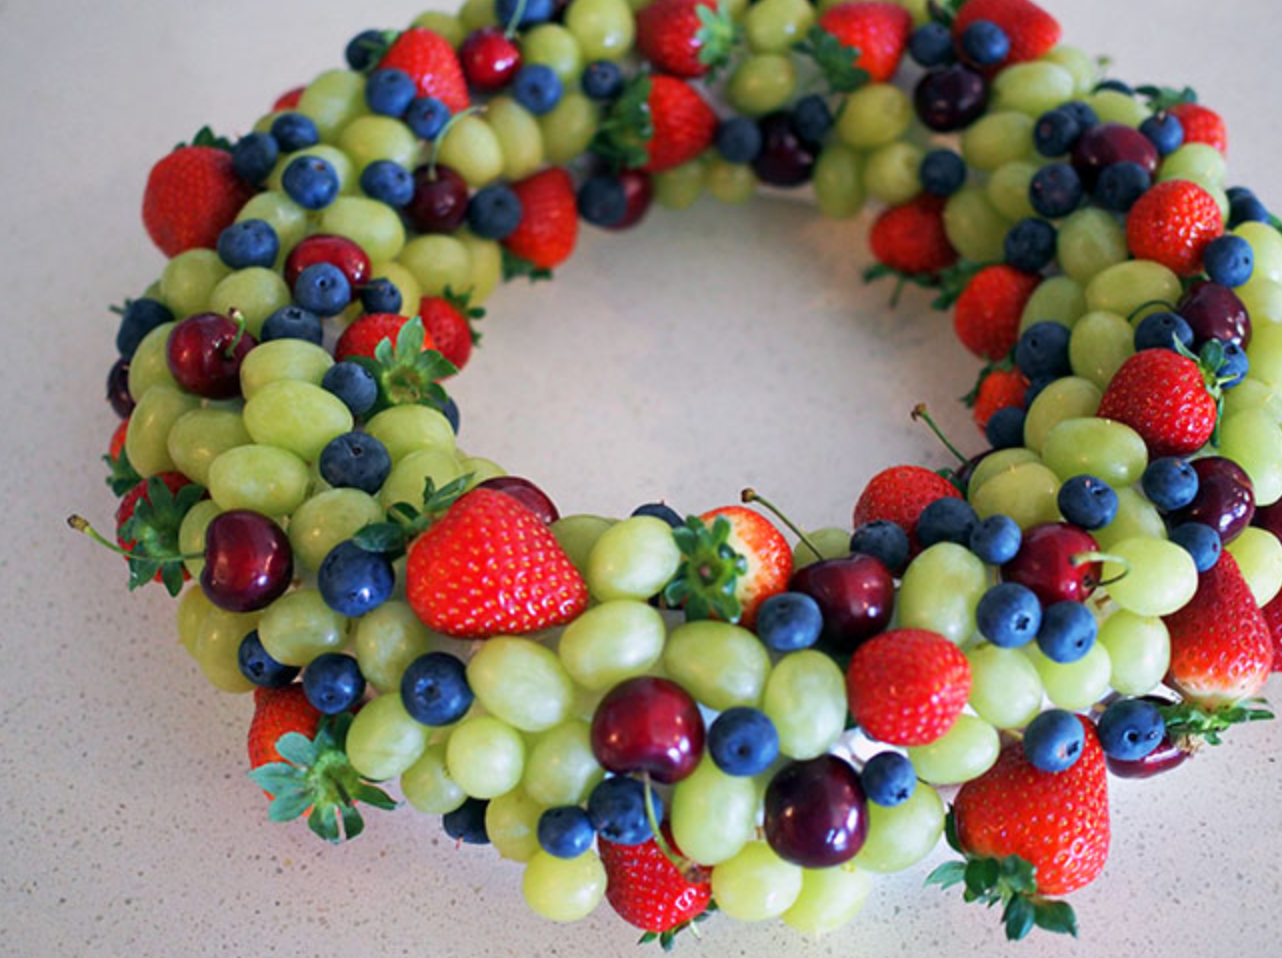
Since having kids, Christmas has become even more fun, and I now relish the chance to create traditions and memories with my own family. One tradition I’ve started over the past couple of years is making an edible fruit centerpiece for the Christmas table. In the past I’ve decorated it in the shape of a tree, but this year I decided to give something new a try with an edible fruit wreath. The effect is truly stunning, and for bonus points it serves two purposes as both a gorgeous centerpiece and a healthy dessert. I mean, let’s face it – the star of the dessert table is usually a platter of gorgeous cookies, but this could easily take center stage.
The kids will also love to get involved with decorating, and it’s a great way to encourage them to eat beautiful fresh fruit.
Edible Fruit Christmas Wreath
Supplies:
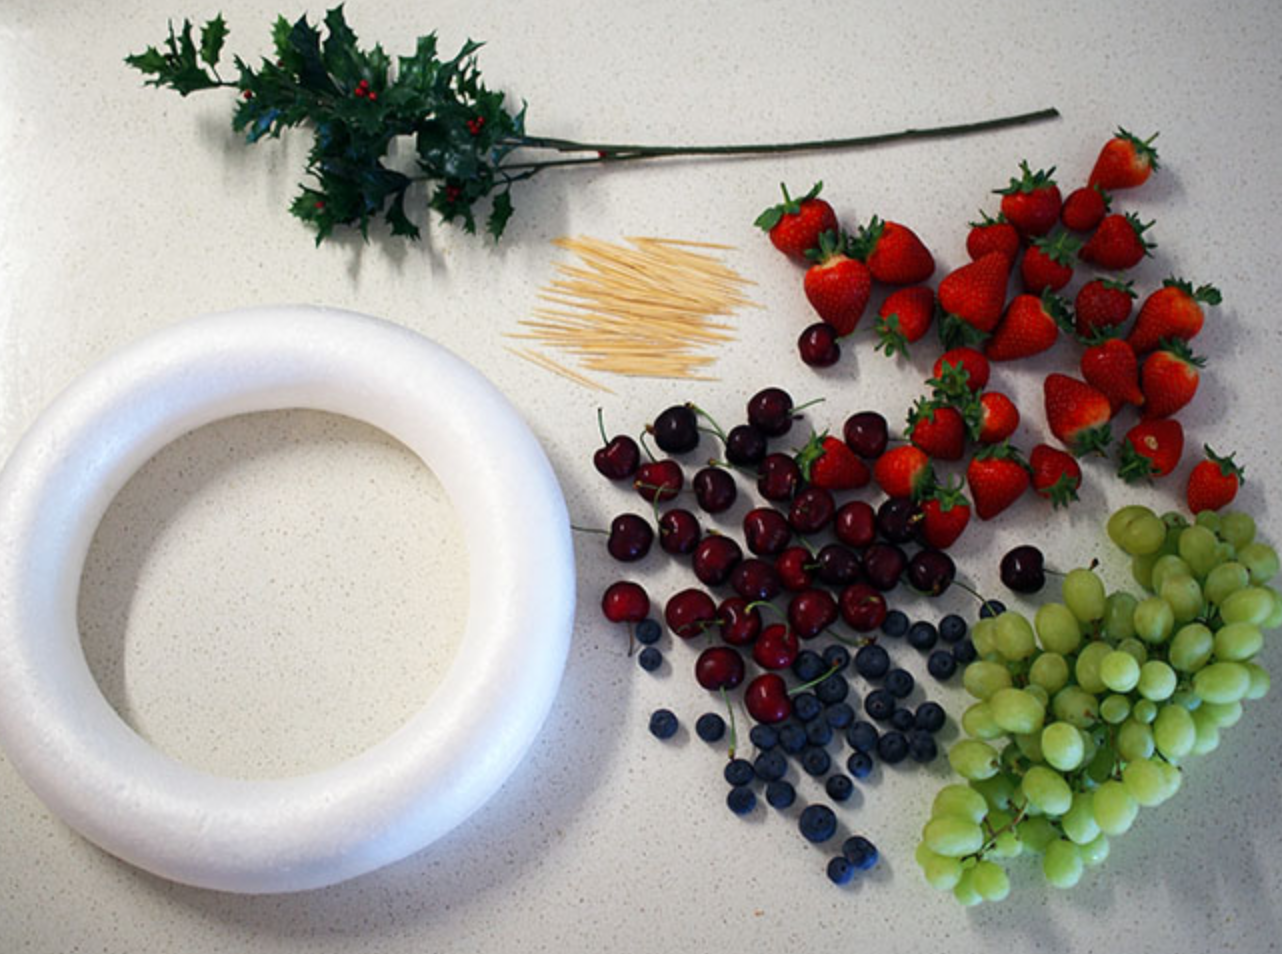
You’ll need the following supplies to create your fruit wreath.
- 1 foam wreath shape
- Toothpicks
- 2 small containers of strawberries
- 6 cups green grapes (approx. 3 lbs)
- 1/2 container blueberries
- 15-20 cherries
- Artificial holly (optional: you can use it to fill any gaps in your wreath after construction)
You can use other fruit combinations if you prefer, but make sure to choose fruit that holds together and won’t discolor if cut. I’ve used watermelon and cantaloupe cut with mini shape cutters before and both worked well. Apples, pears, stone fruits and oranges don’t work well, so avoid them.
Instructions:
Step 1. Rinse and thoroughly dry all fruit.
Step 2. Insert tooth picks randomly around the wreath. Leave around 1cm sticking up. You don’t need to totally fill the wreath, just aim for 20-30 toothpicks to start with.
Step 3. Starting with the largest fruit (strawberries if you are using them), stick the fruit onto the toothpicks around the wreath.
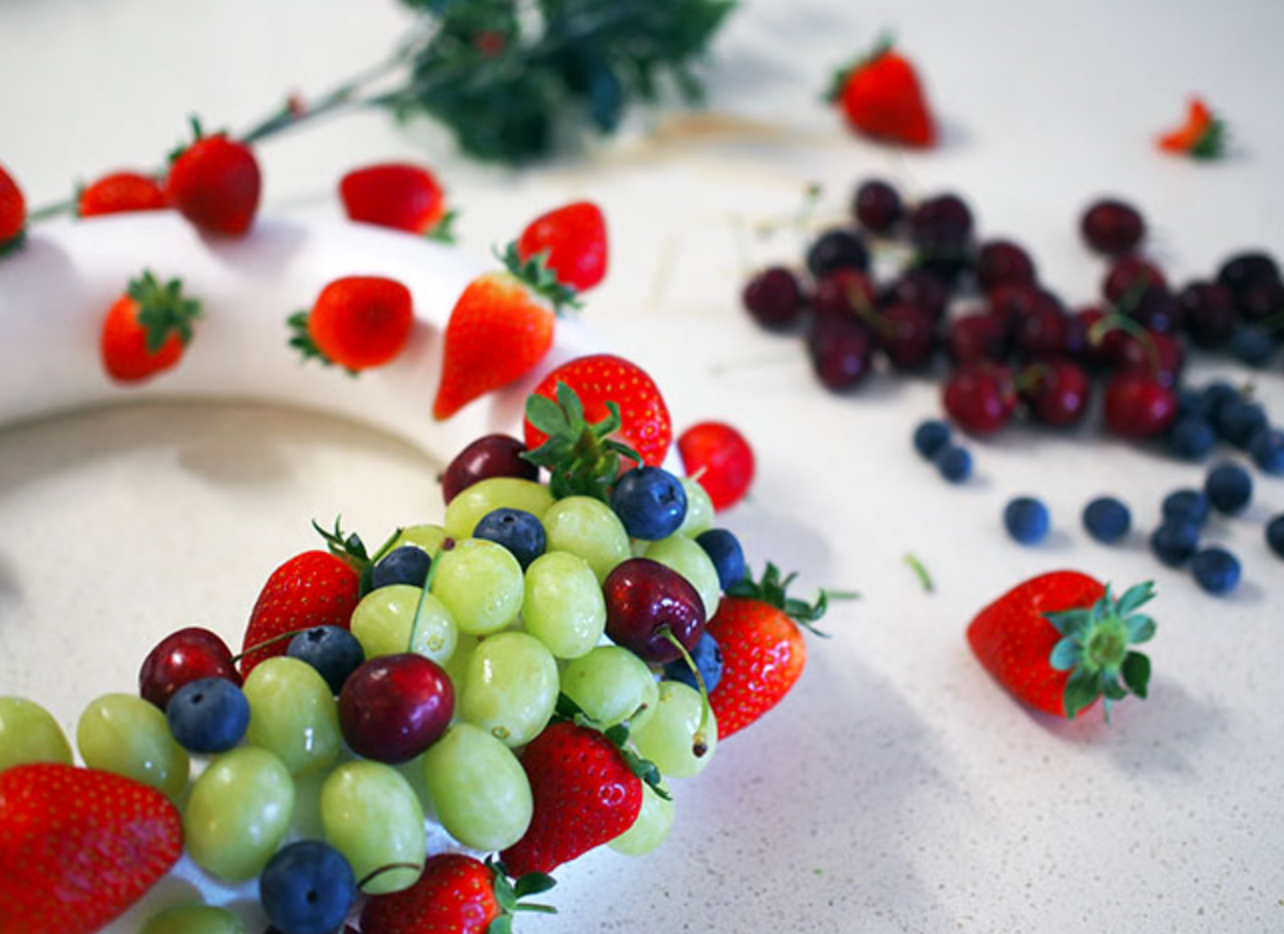
Step 4. Continue to fill the wreath with the larger fruits (cherries, grapes etc), adding toothpicks as needed.
Step 5. Once you are left with only smaller gaps, fill them with smaller pieces of fruit such as blueberries or small grapes.
Step 6. Continue to add toothpicks and fruit until you are happy with the coverage of the wreath.
Step 7. Refrigerate until ready to serve. Yum!