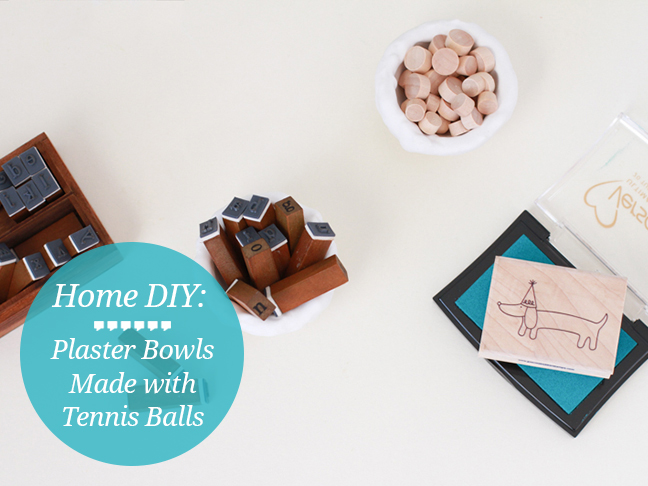
Make miniature bowls, perfect for craft and office supplies, with an unlikely item you probably already have in your garage: a tennis ball. This clever recycling project is a good one to have the kids monitor (and possible get involved with the plaster part) because it teaches them about recycling and reusing materials. The best part about this project, though, aside from the recycling aspect, is that you can make your own DIY plaster bowl in three simple steps.

Here’s how to make your own:

Supplies:
- Tennis ball
- Powder craft plaster
- Water
- Spoon
- Handsaw or very sharp knife
Instructions:
Step 1: Using a handsaw or a sharp knife, cut a tennis ball in half. This part of the process should be done by an adult. Set aside.


Step 2: Now it’s time to mix the plaster. Mix water into the powder while stirring, according to directions on the packaging. The consistency you are looking for is similar to pancake batter.

Step 3: Next, dip each half of the tennis ball into the plaster mixture, using the spoon to scoop plaster inside the bowl, if needed. This part will be messy. Once completely coated, allow the bowl to dry before repeating this process again with one to two more layers of plaster. Let the bowl dry completely (at least 24 hours) before using.


Optional: If necessary, coat the finished bowl with matte medium or a spray sealant to help protect the plaster from breakage.


More Home DIY Projects: