If you’re expecting but have no intention to learn how to knit or crochet, this simple baby blanket tutorial is right up your alley. Even the very novice sewer can whip this out and still have an impressive final result. It feels so good to hand-make something that your baby can keep forever. It feels even better to make something that’s not incredibly labor-intensive.
The trickiest part of typical handmade baby blankets are those darn mitered corners. This is a great DIY tutorial that will help you create mitered corners on your soft baby blanket with a little cheating (shh! don’t tell your mom!).
RELATED: DIY No-Sew Curtains, Step By Step
Supplies:
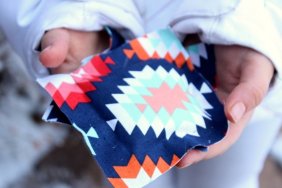
- Cotton fabric 36” by 36”
- Fluffy cotton or poly/cotton like chenille. 41” by 41”. This fluffy kind of fabric is essential in cheating mitered corners. Plus it makes a super soft blanket for baby (and hides seams well if you’re a beginner!)
- Sewing machine
- Scissors
- Matching thread
- Lots of pins
Instructions:
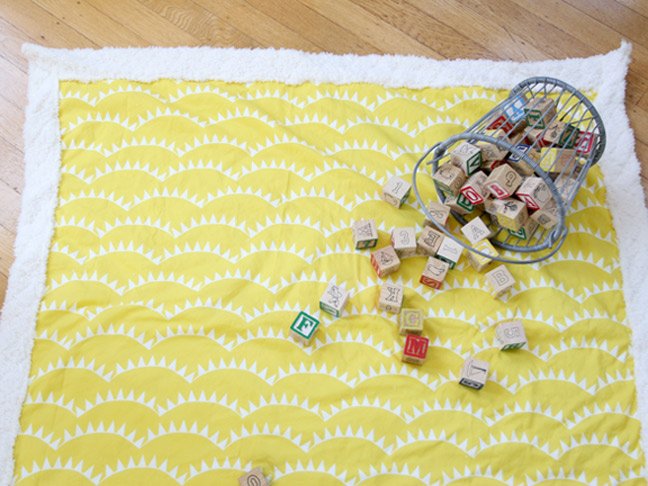
Step 1: Start by cutting your two pieces of fabric. You can really make this blanket whatever size you want, although keep in mind that the top piece needs to be 5 inches shorter around. My top cotton piece was 36′ by 36′ and my bottom fluffy piece was 41′ by 41′.

Step 2: After cutting your blanket pieces out, lay the fluffy piece, right side down on the floor with the top cotton piece on top, right side up. Center the top piece as well as you can. If you need to trim either piece a little bit to center the top piece, do so at this point.
Step 3: Start about an inch or two from a corner. Pinch the raw side of the fluffy piece down and fold it over the top of the non-fluffy top pice.
Step 4: Secure this with a pin.

Step 5: Continue down the side of the blanket pinching, folding, and securing with pins every couple of inches.
Step 6: When you come to a corner, skip over it and start pinning again an inch or two on the other side. We are ignoring the corners for right now. hey should look like the photo above.
Step 7: Sew a top stich where you’ve pinned, starting right after a corner. I used the edge of the foot as my guide.
When you come to your first corner, leave your needle in the fabric and snip off the excess with scissors.
Step 8: Fold the raw edge of the corner in and secure at the bottom with your thumb as you sew down that seam to the edge of the corner. Because of the fluffy fabric, you won’t even be able tell that the blanket isn’t truly mitered.
Step 9: Continue top stitching around the blanket and sewing each corner like your first.
Step 10: Make sure to remove all pins and snip off excess thread.
That’s it! You’ve got an impressive gift now for a new mom or for your baby, and they’ll never be able to tell that you cheated on those corners.
More Handmade Baby Gifts: