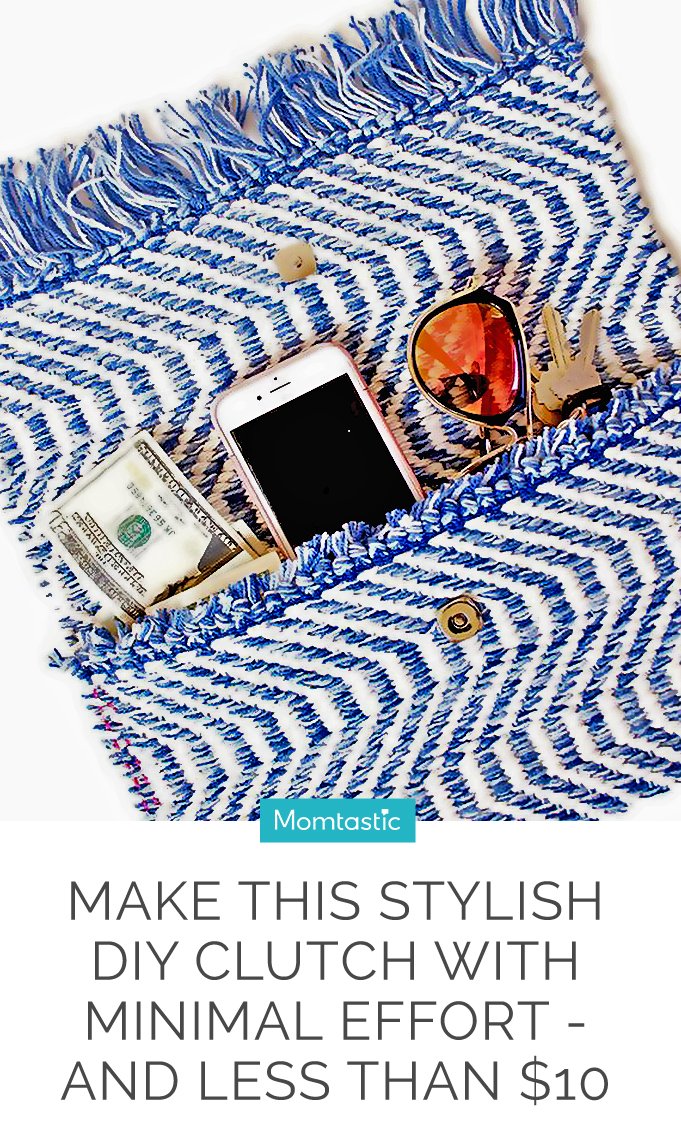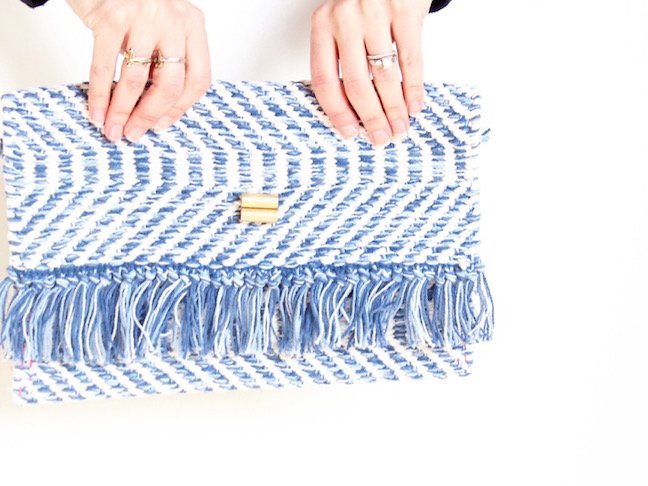
My mother taught me to always use a placemat at the dinner table, but my mother didn’t teach me that a placemat could be so much more outside of the kitchen!
Last weekend, I discovered that I could transform an ordinary placemat into a cute homemade clutch with minimal effort. And “minimal effort” is my middle name when it comes to DIY projects. I made this adorable clutch in under an hour and for less than $10. (Look, spring is around the corner and I have accessories on the brain—just not in my budget.) And because there’s no shortage of colorful placemats out there, the possibilities for this DIY are endless.
Want to add a pop of color to your wardrobe with a simple-to-sew DIY clutch? Follow my super easy directions below:
Materials:
- Placemat (I found this one for under $6 at Pier 1 Imports)
- Embroidery string and needle
- Magnetic button snaps
- Super glue or E6000
- Brass or gold compression sleeves (you can also use a colorful wood bead, broach or button)
Directions:
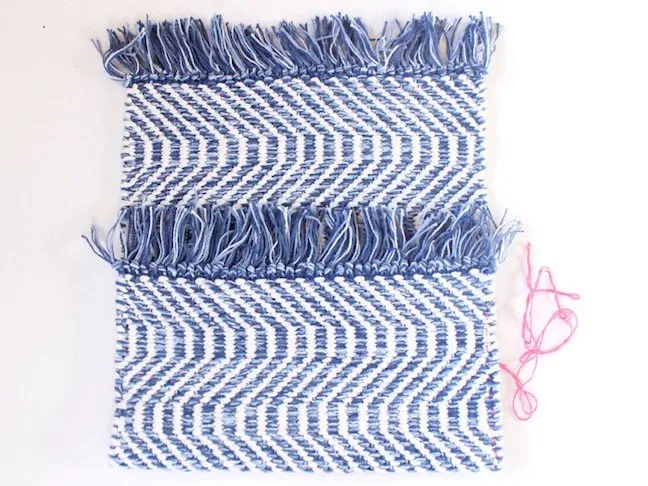
Step 1: Fold one end of the placemat in half, or three-quarters of the way up. This fold is going to be the “pocket” part of the clutch.
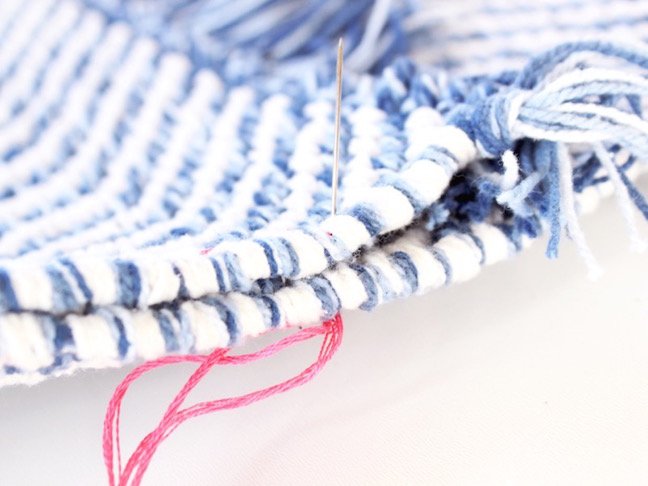
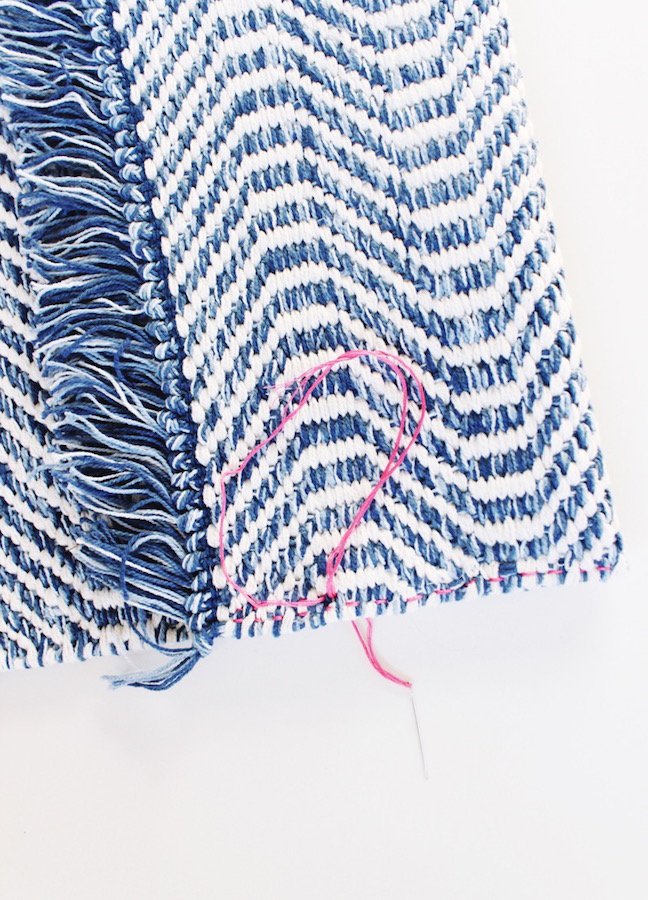
Step 2: Thread a needle with string, and tie a knot at the end. Make sure to at least triple the size of the knot so it doesn’t slip through the placemat weave. Begin stitching at the bottom right, and work your way up one side of the placemat. This is an easy stitch. You do not need a sewing machine, nor do you need to know how to sew. Initially insert the string up through the middle of the placemat (between the front and the back so you don’t see the knot), and pull through the front of the placemat. Make sure you pull the string tightly through, and then insert it about two centimeters up from the initial stitch, down through both layers of the placemat, and pull it through the bottom side. Continue to weave in and out of the placement. Make your way up the entire length of the folded part of the placemat, and then back down to the bottom again.
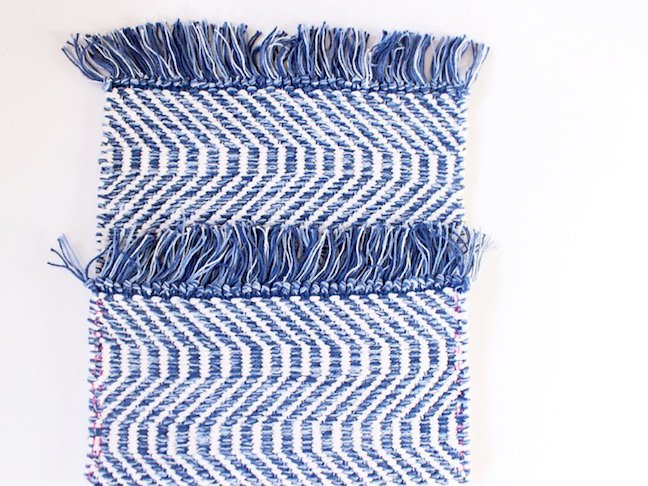
Step 3: Stitch the left side of the placemat with the same pattern as the right.
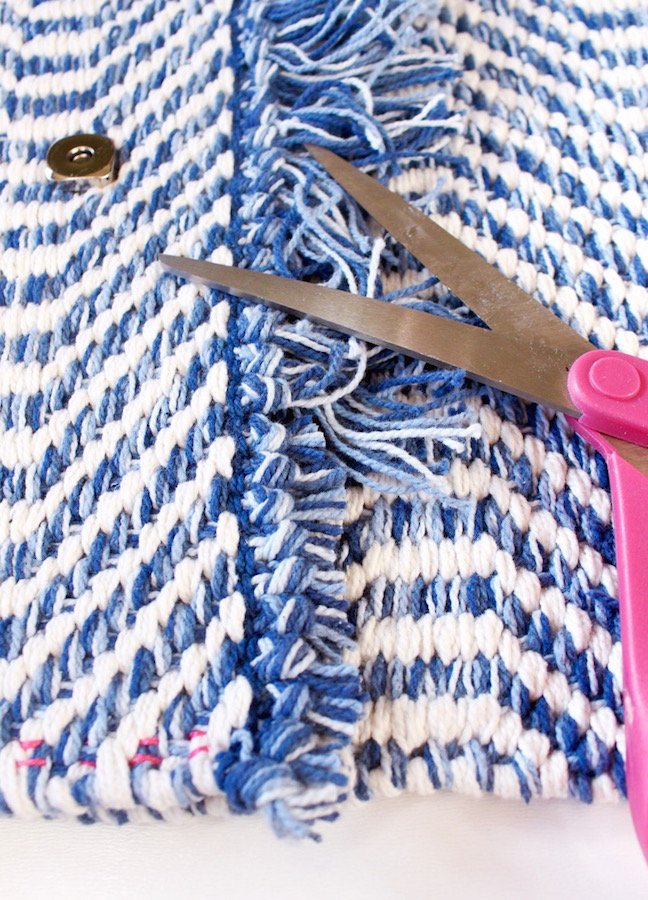
Step 4: Cut the excess fringe on the inner part of the clutch.
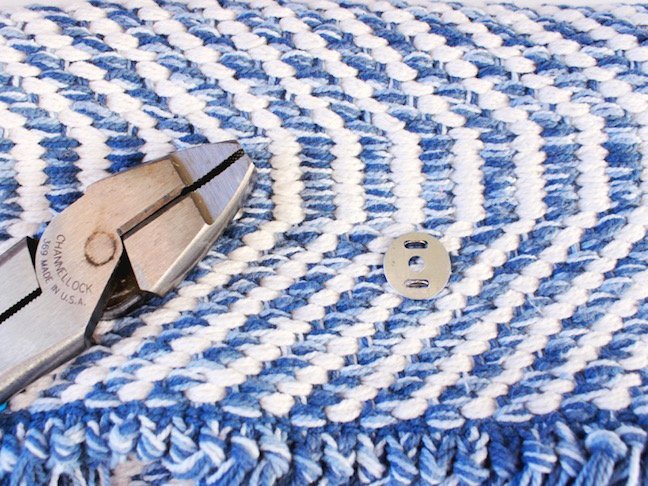
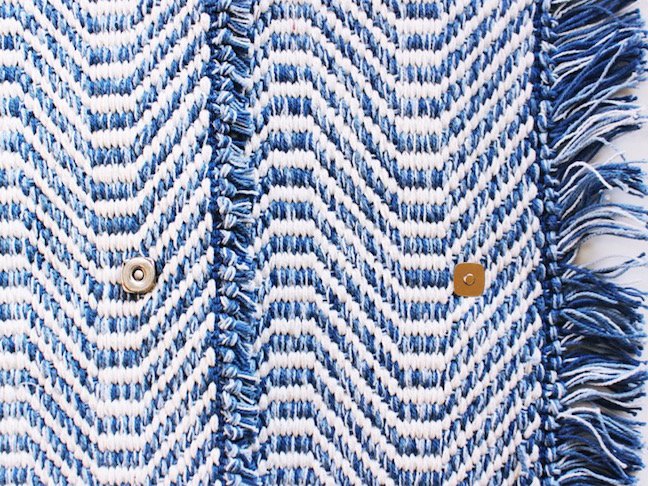
Step 5: Follow directions for the magnetic button snaps. Lift the small metal fastening through the prongs on the back. Insert the prongs in the desired spot on your placemat. Then, add the metal fastening that fits over the prongs, and use a wrench to push the prongs down on each side. Once it’s fastened, do the same for the other magnetic snap.
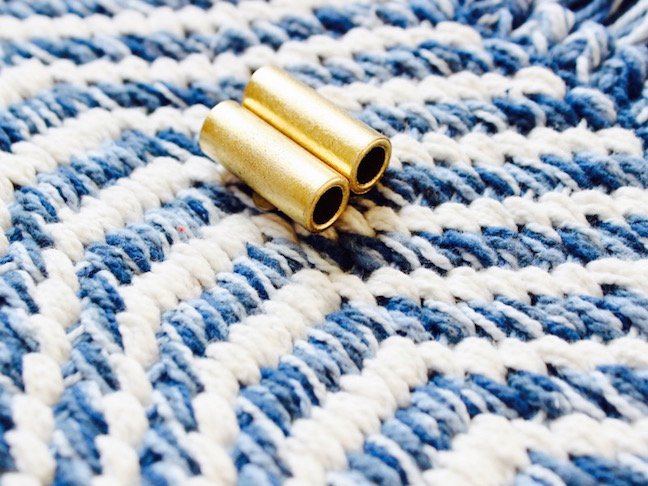
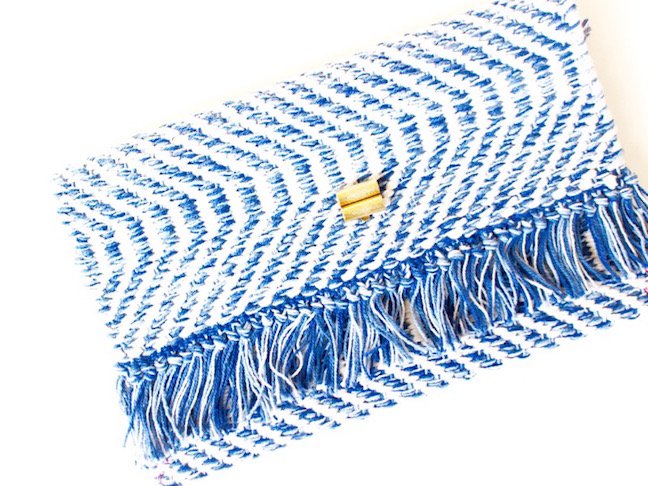
Step 6: Find something fun to cover the magnetic snap that shows on the outside of the clutch. It would be really cute to add a colorful, geometric bead, or a broach. I glued two gold compression sleeves to the magnetic clasp for a pop of gold.
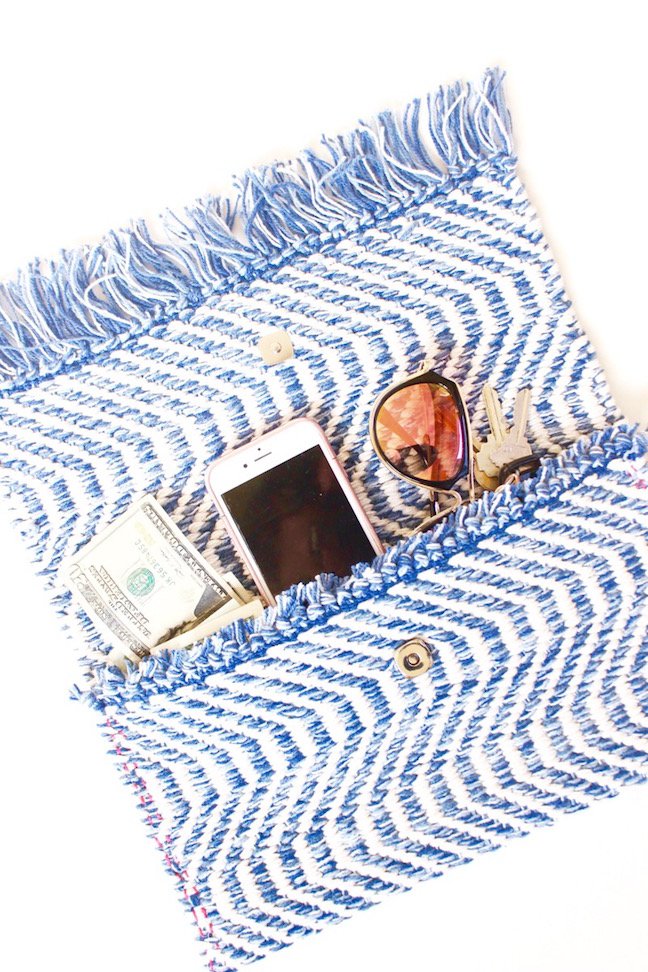
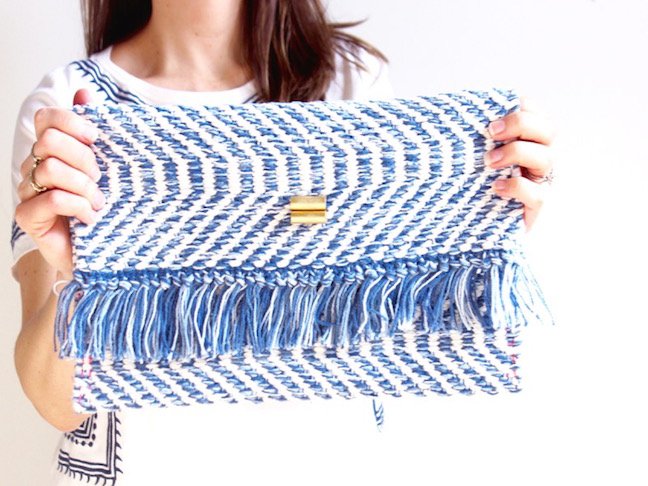
You’ll never look at a placemat the same way again.
Like what you see? Don’t forget to Pin it!
