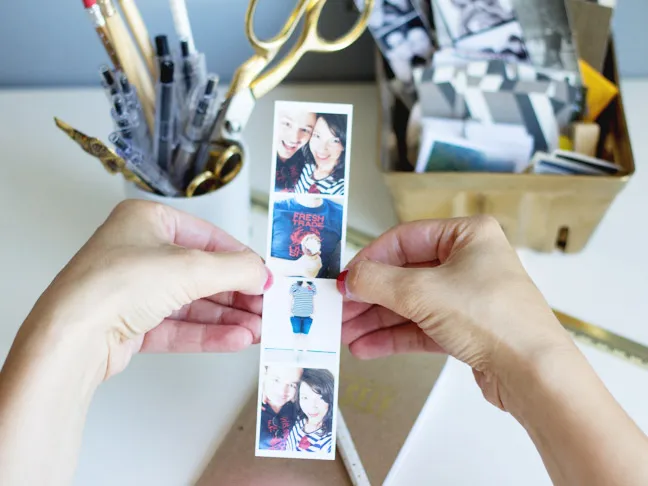
Photo booths are one of my great joys in life. No kidding, there’s no way I could ever pass one up. Sometimes, though, they’re few and far between. So I put together this little printable photo strip template and DIY tutorial so that you and your kiddos can have your very own faux photo booth pictures and print “photo strips” using the snaps right from your phone. All you need is a computer with Photoshop and a phone with a camera, and you’re good to go!
Supplies:
- Computer with Adobe Photoshop
- Printer
- White card stock
- Camera phone
- Photo strip template download
Instructions:
Step 1: Take some fun photos on your phone. Select four photos and email them to yourself (or sync your phone to your computer so that the files are transferred to your computer). You’ll need to transfer them at the largest size possible.
Step 2: Open the photos on your computer in Photoshop. In addition, open the photo strip template download. All files should be open in separate Photoshop tabs.

Step 3: Drag one photo onto the photo strip template. Do this by clicking on the photo with your mouse and dragging it to the photo strip template tab. The template tab will open up. Drag the image over the template and release your click.

Step 4: In the layers tab to the right of your Photoshop screen, click and drag your photo layer so that it’s just above the top rectangle (#1). Reposition the actual photo so that it’s over the top rectangle on the template.


Step 5: Hover over the line between your image layer and the #1 rectangle layer in the layers tab. While hovering, hold down the “Option” or “Alt” key on your keyboard. Your cursor will turn into a small square with a downward arrow. Click your mouse and your first photo will be masked into the top rectangle.
Step 6: Be sure your photo layer is selected, hold the Command button, and hit T. This will form a bounding box around your photo. While holding Shift, position your mouse at one corner of the photo and slide it to resize the image so that it fits in the rectangle.


Step 7: Repeat the previous steps with your other three photos. The next photo will go above the #2 rectangle in the layers tab, followed by #3 and #4 until they are all filled.

Step 8: Save your photo strip as a .jpg or a .pdf and print on your home printer with white card stock! Cut around the edge lines and share your photo strips with your kiddos. Make a million of ’em!


More DIYs for Mom:
Save
Save