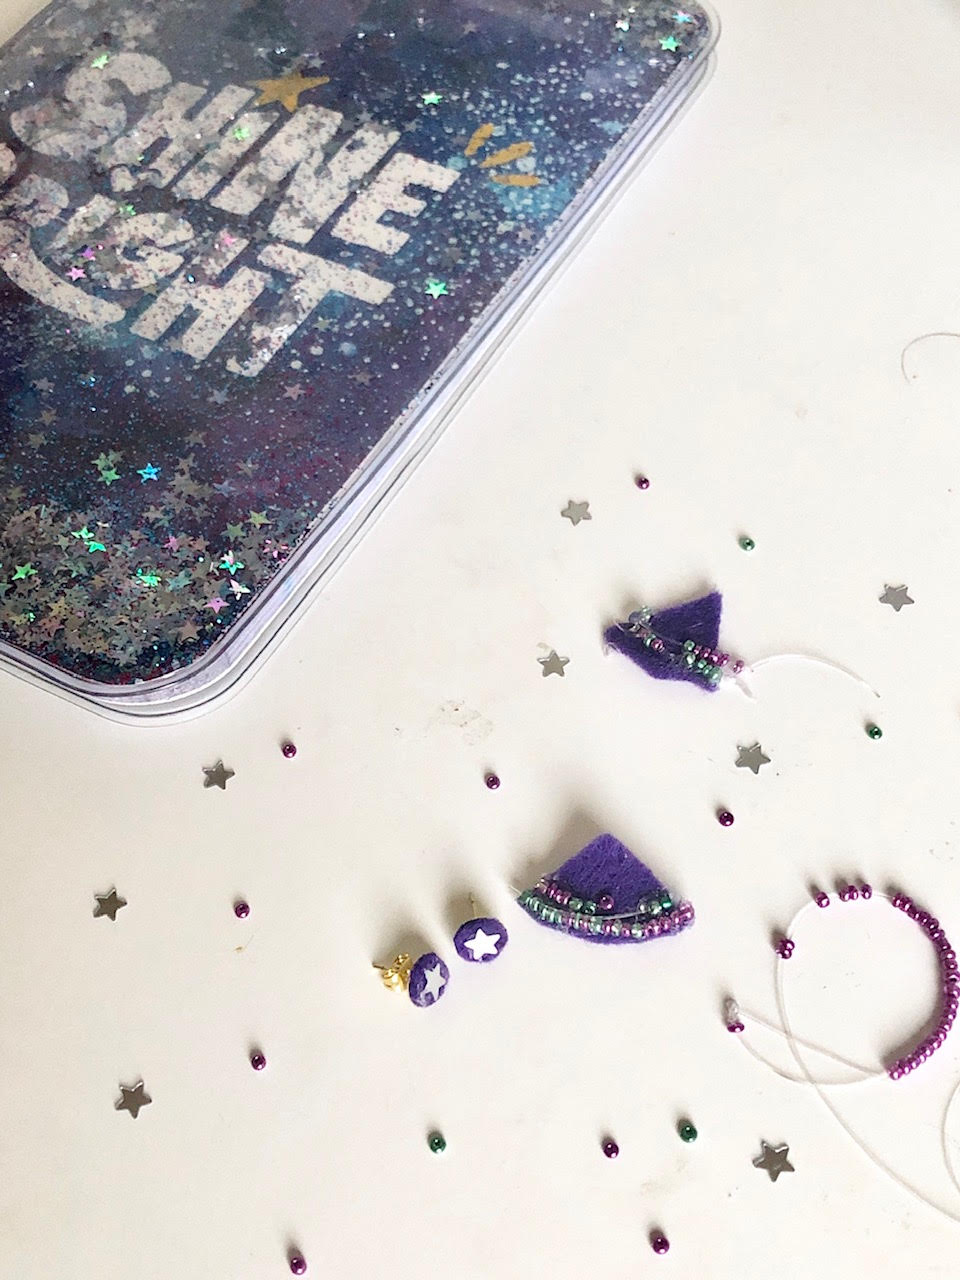
Things have gone galactic in my house. We’ve got galaxy t-shirts, we’ve made galaxy slime and galaxy jars, and we have plenty of stars and planet iron-patches and celestial stickers. I don’t know when my daughter’s love of all things space kicked into high gear, but here we are. When she paints her toe nails, you can bet the blue and purple color palette will be complemented with a clear layer of silver glitter polish. Add pierced ears to the equation, and it was only a matter of time before my tween would crave a pair of out of this world studs. A simple star wouldn’t do, so we amped up the cool factor by creating seed bead earring jackets. Check out the tutorial below for the how-to.

Supplies
stud earring pieces
aqua and purple seed beads
stiffened felt sheet in dark purple
1/4″ star sequins
clear stretchy jewelry cord
thin sewing needle
hot glue gun and glue sticks
ruler
pen or fine tip marker
scissors

Instructions
Step 1: Cut a small triangle from the purple stiffened felt. To determine the triangle’s size, use a ruler to measure vertically from your child’s earring hole to the bottom of the ear lobe. Add 1’4″ to this measurement to find the height of the felt triangle. Remember this measurement.
Step 2: Measure horizontally across the bottom of the lobe to determine the width of the felt triangle’s base. Remember this measurement.
Step 3: Lightly outline a triangle using these measurements onto the stiff felt using a pen or fine tip marker. Cut out two triangles, one for each ear.
Step 4: Thread a needle with the clear, stretchy jewelry cord. Tie a double knot at one end of the cord. Pull the needle and cord through the felt triangle at one of the corners of the base.
Step 5: Add purple and aqua seed beads to the cord in random or alternating sequence. Once you have added enough beads to create a row across the base of the felt triangle, pull the needle and cord through the felt to end the row and secure the beads. Repeat with a second row of beads to create another row along the bottom width of the triangle. Repeat with the second felt triangle. Set both aside.
Step 6: Hot glue a small piece of felt to the earring stud base. Once the glue has set, turn the earring base over, and trim the felt to fit the round base. Using a dab of hot glue on the felt, adhere a small, silver star sequin. Set aside to cool.
Step 7: Insert the stud base into your child’s ear. Place the beaded felt triangle (earring jacket) behind the ear, adjust it accordingly, and slide it onto the earring post. Put on the earring back to hold the earring and jacket in place.
