I always seem to be the parent hanging around at the play dough table at playgroup. Long after my child has moved onto another activity, I’m still there, sculpting away. play dough will be the next Colouring-In-For-Adults craze. You heard it here first.
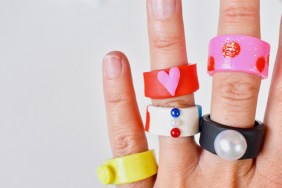
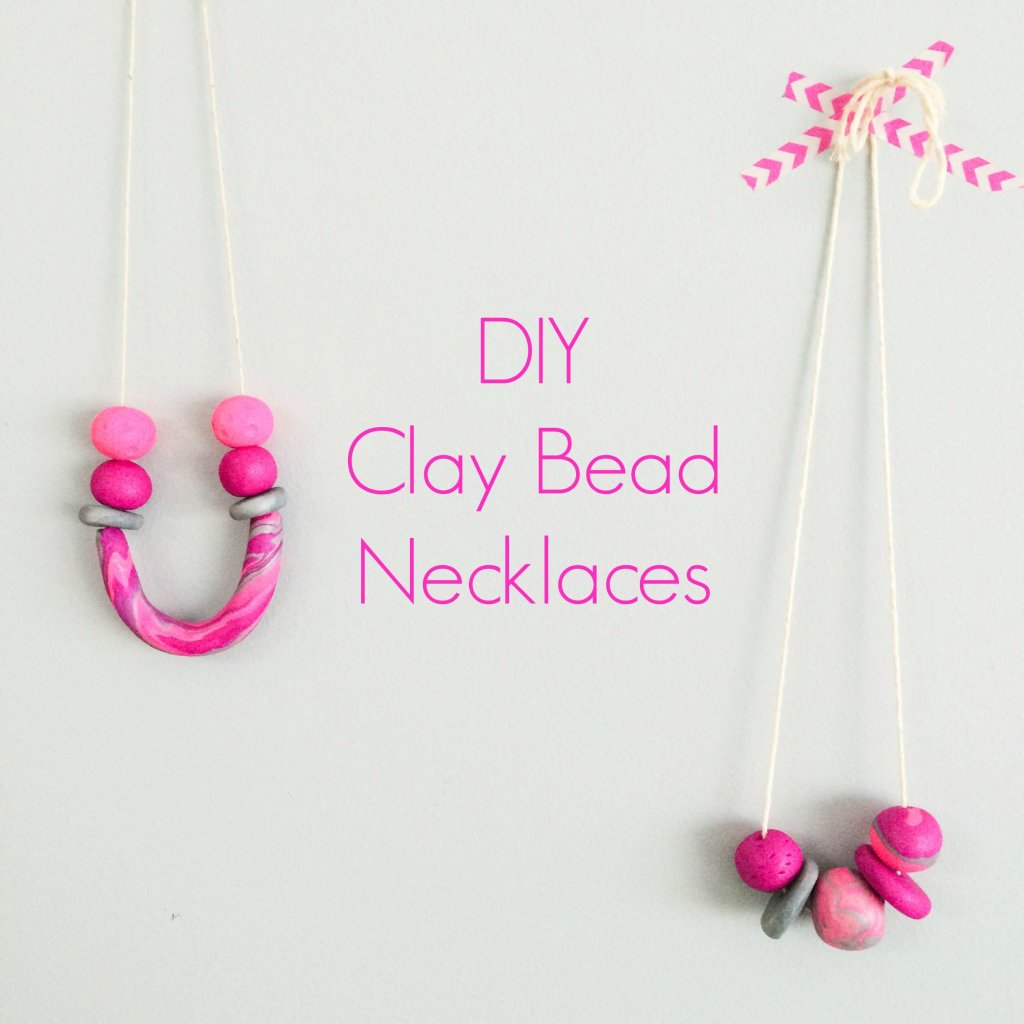
These DIY Clay Bead Necklaces allow you to indulge your inner-kid play dough desires, in a grown-up kinda way. I love a project that requires minimal skill-set but delivers awesome results!

Supplies:
- Oven-bake clay, I use Sculpey.
- Sharp implements. There are fancy (proper) instruments that you can use, but I’m all for making do with what you have at home. A knife for cutting clay; a skewer for making holes in your beads; any object you like for marking your clay (if you so wish.)
- A place mat, to roll on.
- I use twine and cord to string my necklaces. You can go all fancy and use chain if you like.
- A baking tray, lined with baking paper.
Instructions:
Step 1: Roll your clay into your desired shapes (see ideas below for creating interesting beads).
Step 2: Lay your finished beads onto your lined baking tray as you go.
Step 3: Pop your baking tray laden with beads into the oven (as per instructions on packaging.)
Step 4: Once baked and cooled, string your beads onto the cord.
And there you have it – a necklace!
Ideas for Making Beads:

Idea 1: As you can see from the picture above, the Sculpey blocks are divided into 4 rows. I cut the rows into thirds. Take a third and roll it between your palms. With not too much effort, you will get a nice sphere.
With the purple bead, I just used the tip of the knife to create those markings. With the pink bead, I used the head of the pin pictured. I use a skewer to create a hole through the middle of the bead.

Idea 2: If you want to get funky, roll your little square of clay into a log/worm. I’m sure there is a fancy-schmancy term for log/worm. I just call it how I see it.
Idea 3: Roll another colour in the same way. Entwine the two logs/worms then roll it back and forth. Fold the log/worm in two. Roll back and forth. If you keep folding the log/worm in half, the colours will continue to combine. The strength of some colours may dilute slightly. That pink and silver log/worm created that nice sphere (see above).

Idea 4: Experiment! I created a tricolour log/worm. I delicately pushed a skewer through the middle. Removing the skewer gently, I then turned my log/worm into a smile. It looks so happy, no?!

Idea 5: To create circular discs, press a ball of clay gently under a jar.

This really is a project that is limited only by your imagination. Here are some more creations to get the inspiration flowing…