With markers, stencils, and paint you can create super cute personalized luggage tags alongside your kids! Get them excited to pack with this clean, easy, and useful DIY! Copy these designs step by step or create your own! Also, I know this seems far off, but the holidays will be here before you know it, and these make great gift tags too!
Supplies:
- Paper tags (I picked mine up at Michaels in an assortment of bright colors!)
- Paint (Naturally, I chose gold.)
- Sharpies or markers
- Tassels or string
- Letter stencils
- Double-sided tape

Instructions:
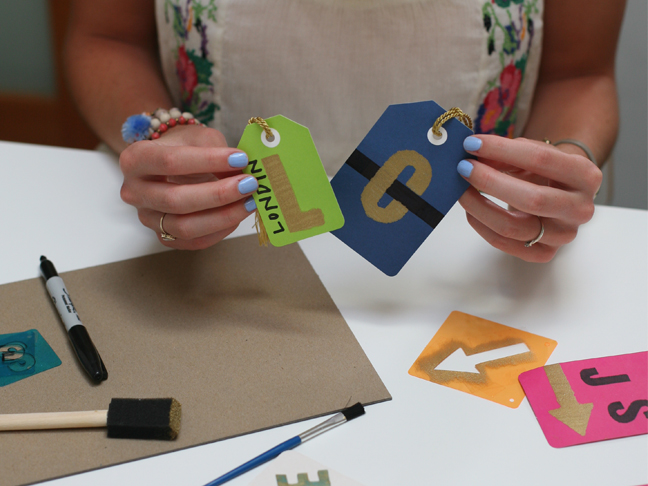
Step 1: Choose your design! I decided to try out a variety of designs with monograms, stripes, arrows, and hearts!
Step 2: Use double-sided tape to adhere the stencils to the tags so the paint and Sharpies don’t seep.


Step 3: Fill in your stencils with paint or marker and let dry (if using paint) for a minute before peeling off.


Step 4: String a fun tassel or string through the tag, and your masterpiece is complete!


More Travel DIYs: