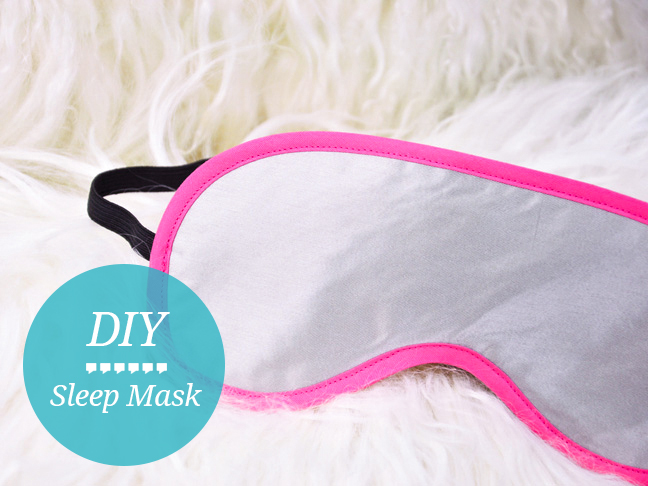
We all know that getting a good night’s sleep is the key to one’s ability to function during the day. Establish a serene environment with this easy-to-make DIY satin sleep mask! It is silky smooth and the perfect enhancement to your bedtime ritual.

Supplies:
- 1/4 yard satin
- Scrap of interfacing
- Scrap of batting
- 1 package of bias tape
- 14″ piece of elastic
- Sleep mask pattern (download HERE) *make sure settings are set to no scale*

Step 1: Adhere the interfacing to the wrong side of the satin. Make sure to use a medium setting so you don’t overheat the satin.

Step 2: Using your pattern, cut out two shapes from the interfaced satin and one shape from the batting.

Step 3: Sandwich the two satin pieces, right sides facing out, with the batting in between.

Step 4: Sew a 1/4″ seam all the way around the mask. Go slow and take care that your fabric does not bunch up.

Step 5: Trim the seam allowance very close to the stitch line.

Step 6: Sew the bias tape around the entire raw edge of the mask.

Step 7: Flip the mask to the back side and pin the elastic to the sides and sew in place.

Ahhhh, now you can block out reality. Well, most of it anyway.
More DIY Crafts for Mom: