See the whole “Giving Kids a Green Thumb” Series!
There’s something truly magical that happens each year when the snow melts away and the ground gets warmer: things start to grow! And since spring is right around the corner, green things might actually start emerging sooner than you imagined. Kids seem to take notice of this magic more than anyone else, so why not help cultivate it by working with them on starting the seeds indoors for their own garden? All you need is a bit of dirt, some seeds, some sunlight, and time!
Starting the Seeds
Here’s all you’ll need to start your garden:
- Seed starting mix soil
- Peat pot planting containers (buy it from the store, or make your own from old toilet paper rolls)
- Seeds
- Ruler or measuring stick
- Water
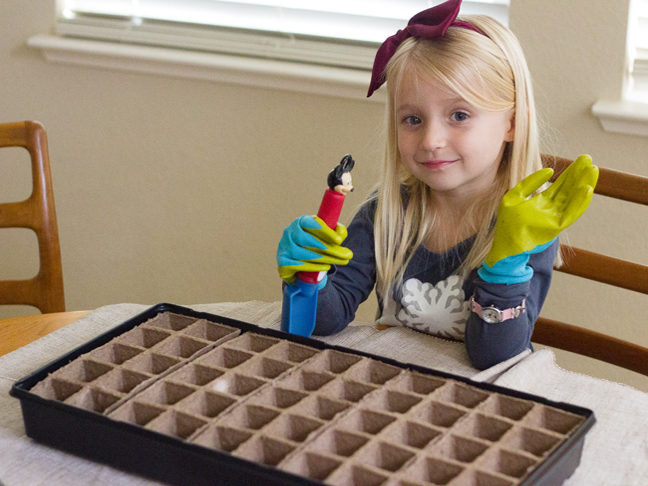
You’ll want to pick out planting containers that will suit your home and the “sunny spot” where the seeds will germinate. We used a peat pot tray that comes with a plastic lid and container tray, so that it contains any splashes or spills. If you don’t have a lot of space, you could also just make a few seed pots from old toilet paper rolls and keep them in a shallow dish. Growing the seeds in these containers makes planting them later on a very kid-friendly activity!

Picking out what seeds to grow is one of the best parts of the experience! If you’re growing vegetables, then guide them toward those foods that they’d love to eat later on this summer. My daughter instantly gravitated toward the zucchini, carrots, and colorful sweet peppers. You may want to pick out a few other plants that are bountiful and easy to grow, like sunflowers and beans, so they get many things to harvest during the year.

You’ll also want to be mindful of the size of the seeds that you select. For instance, carrot seeds are very tiny and hard for little hands to handle, whereas sunflower seeds are easy for a two-year-old to plant! Pick out a variety so that your child gets to see where the seeds come from each plant, and how the size of the seed relates to the size of the fruit/vegetable/flower!

Have your kids get a little dirty and fill up the seed pots with seed starting mix. Wet the soil and then add a bit more to each pot and wet it one final time.

Each seed needs to be planted at a specific depth in the pots. Help your child out by measuring that depth on a plastic spoon and marking it with a permanent marker. You can have a separate spoon for each depth as needed.

Have them poke a hole in the center of each pot down to the measured line. Do this for all the seeds that you’re planting at that depth.

When that’s complete, have them add two to three seeds in little hole, then cover with soil. For the smaller seeds, use the other end of the spoon to scoop them up and drop them in.

When all the seeds are planted, mark them with plant markers/popsicle sticks so you know what’s growing where. Then place your container in a warm/sunny window where kids can watch them grow. You’ll want to keep them moist each day, but try not to overwater! If your house tends to be moist, sprinkle a bit of cinnamon on the seedlings as well to prevent damping-off diseases affecting your seedlings as well. And if you’re using a plant tray with a cover, be sure to remove it once you see the first signs of germination!
Next up…watching the seeds grow!
See the whole “Giving Kids a Green Thumb” Series!
More Springtime Kids’ Activities: