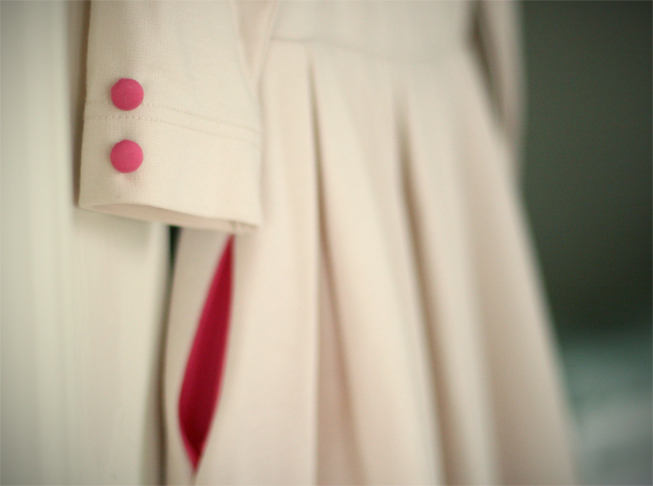
I like to do a lot of refashions over on my blog but sometimes just a really simple touch is all you need to add a bit of sophistication. Covered buttons are one such touch that are incredible easy (my toddler helped me make them!). Keep reading to see how to make this fun accent…

Supplies:
- Fabric of choice
- Button kit with pusher
- Hand sewing kit
- Pen
- Scissors

On the back of the button kit there should be a circle pattern to use. This pattern will differ in size depending on how large the buttons in your kit are. I’ve found that the pattern is not big enough though and I always make my circles about 5/8ths of an inch larger than the circle they suggest. Trace and cut out your circle, no need to worry about pen marks on one side (they’ll be hidden)

Place your fabric on top of the round device with a hole that was in your kit. Make sure it’s centered on top of the device

Place the top part of your button (there should be a top and bottom) right in the center and carefully stuff it inside using the back of a pen or chopstick

Now you’ll stuff the loose ends of the fabric inside as well and place the bottom of the button on top a shown. Then take the pusher piece and push the bottom hard into the device. It should click.

Now you just need to pop out the button which shouldn’t be hard because the device is usually rubbery and flexible.

Now you’ve got some pretty covered buttons. You can sew them onto shirts to add decoration or make fun ponytail holders (tutorial coming up soon for that!)