
I have two little girls, and in my house, the accessory of choice is always a hair bow. All day, every day. A lot of fellow new moms have asked where I find them, as we have quite the collection. And while I’ve been known to partake in a Target hair bow binge from time to time, I purchase most from small handmade shops via Etsy or Instagram. I find handmade hair bows hold up better, and I prefer the variety they offer.
But this mama’s on a budget, and a few years ago I started my own shop, handmaking hair bows for babies and little girls, so I didn’t have to buy them all elsewhere. And to support the habit! Now that my shop selection has grown, and I carry other things, I’m ready to share one of my trade secrets. While I sold these DIY hair bows for anywhere up to $10 apiece, you can make them for less than a dollar each at home.
Looking to expand your little girl’s accessory collection? Follow my step-by-step directions below for easy no-sew DIY hair bows:

Supplies:
- Elastic ribbon (also known as “FOE” or fold-over elastic)
- Ribbon of choice (I love 1″ grosgrain or satin for these, but anything you have will do)
- Hot glue gun and glue
- Scissors
- Tape measure
- Felt (optional)

Directions:
Step 1: Cut your elastic to create the base of the headband. You can use your tape measure to gauge how long it needs to be for your child, or approximate with the guide below. Either way, add a half-inch to your desired length to allow extra space for gluing the ends together.
Newborn to 3 months: 14 inches
3 to 6 months: 15 inches
6 to 12 months: 16 inches
Toddler: 17 inches
Young child: 18 inches
Tween/teen: 19 inches
Step 2: Use your hot glue gun to place a large dot or two of glue on one end of the elastic, then pull the other end on top and press in place to create a circle.

Step 3: Just as you did with the elastic, cut and create a circle with your ribbon. This will determine the size of your bow so it’s all a matter of preference. For smaller bows, I typically make a 6- or 7-inch loop, and for a more dramatic look, I cut closer to 10 or 11 inches.
Step 4: Affix the ribbon to your elastic, placing the glued spot of the ribbon right above the glued spot of the headband. Then, add another dot of glue in the bottom center of the ribbon and attach the opposite end of the loop so that your ribbon is now glued down and starting to look like a bow.
Step 5: Create the center of your bow by gluing one end of ribbon beneath the closure of the headband and pulling it up and around until it’s back on the underside. Glue in place. You can do this with the same color of ribbon, pick a different one for contrast, or even use more elastic for a different texture.

You’re done!
Get Creative: Double-up your bow by repeating steps three and four to create a layered look. Or, be fancy for older girls who aren’t a choking risk by adding other things to the center of the bow, like flat-back charms, buttons, or shells. The possibilities are endless! And so is the fun when you do this easy craft together with your kids.
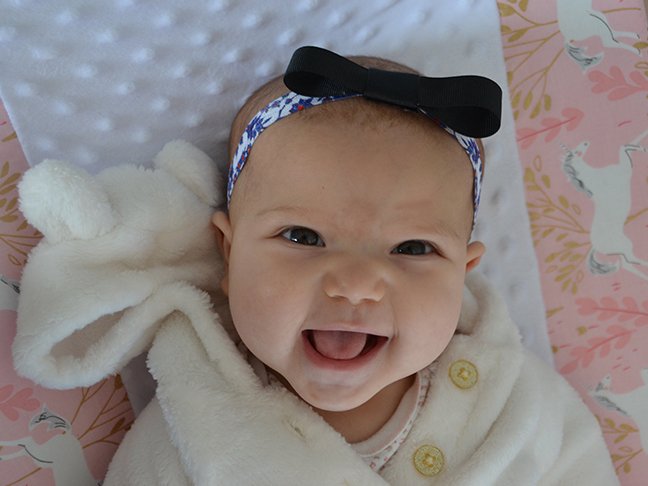
Photo courtesy of the author