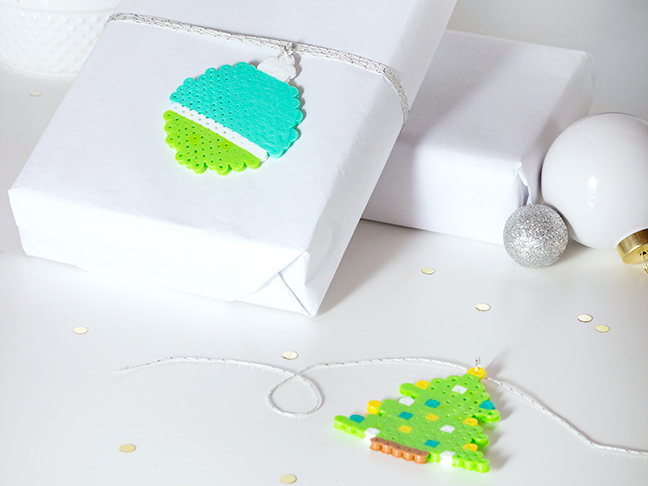

Holiday time is ticking nearer, so let’s start decking out those gifts. These DIY gift tags made with perler beads are a great activity to have the kiddos help out with (especially if you’re fancying up Grandma and Grandpa’s presents—they can double as a little extra something special)! Adults will have to iron and finish them off, but the wee ones can have their fun designing the tag with the classic kids’ craft supply, perler beads.
Supplies:
- perler beads
- perler bead grid board
- ironing sheets
- iron
- sewing needle
- needle nose pliers
- 10mm jump rings

Instructions:
Step 1: Create a design using the perler beads and the grid board. To replicate our designs, follow this PDF template. (Click on the PDF template link, and print from your browser or save it to your desktop, then print.)
Step 2: Gently place an ironing sheet designed for use with perler beads over the grid board. Iron according to the directions, then turn over and iron again to fuse the beads together into one unit.

Step 3: If the top center bead on the design has melted so much that the hole is completely closed, use a sewing needle to open it back up again.
Step 4: With a pair of needle nose pliers, open a jump ring and loop it through the hole of the top center perler bead. Close the jump ring.
Step 5: Thread twine or ribbon through the jump ring and attach to your present!
Images by Maddy Hague of Splendid Supply Co. for Momtastic
More DIY Gift Tag Ideas: