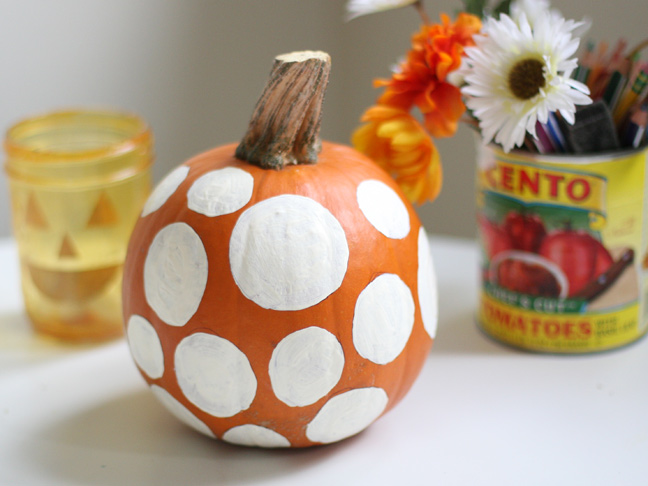
Pumpkins are in season! Always looking for crafts to do with my kids, I came up with this cool DIY, which makes a great fall project for the whole family. My kids love pumpkin recipes, so I figured, why not try a pumpkin craft with this Polka Dot Pumpkin? Get the steps here.

Supplies:
- 1 pumpkin
- craft paints
- paint brush
- plastic easter eggs in assorted sizes
- pen
- 1 cute little helper
Instructions:
Step 1: Start with the largest egg shape. Open it up so that you have two halves, and use one of the halves to trace a few large circles around the pumpkin leaving plenty of space in between circles.

Step 2: Repeat this with the other egg sizes. (I had three different sizes in my set.) Don’t worry about the circles not being perfect, the paint will cover up any unseemly pen lines.

Step 3: Continue until the polka dots cover the entire pumpkin. Get some help from the kids if they’ve got steady hands!

Step 4: Fill in the circles, painting with your brush and a steady hand, staying inside the lines. I used white paint and only needed one coat but you may want to do two.

Step 5: Leave it to dry for a few hours. Now, you’ve got a pretty Polka Dot Pumpkin to display on your stoop!

Step 6 (optional): Try covering only one half of the pumpkin with circles and let your child freehand on the rest of the pumpkin.

Looking for more DIY Pumpkin Crafts?
- DIY Puffy Paint Pumpkin Craft
- DIY Yarn Pumpkin Craft
- DIY Pumpkin and Lemon Holiday Candles
- DIY Halloween Pumpkin Mason Jars