Turns out you don’t need a fancy custom stamp to decorate cards and personalize tags. Keep reading to see how to make these really simple eraser stamps!

Supplies:
- Eraser
- Pen
- Ink pad (I love this rainbow washable one)
- A woodblock carving tool like this one or you can try an exacto knife if you’re making a straight forward shape
- Paper or tags to stamp on

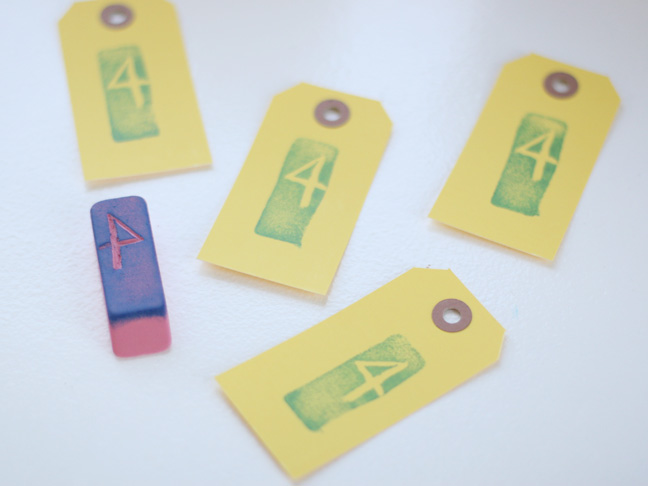
Draw your shape with a pen onto the eraser. Be sure to draw it mirror image like this 4 above so that when you stamp it, it will be right side up. In this case, I dug out the 4 shape and left the rest intact but you could also do the opposite if you want the 4 to stand out on its own

This balloon above is another example. I carved out everything BUT the balloon so the balloon itself will stand out in the stamp instead of the reverse

So back to the 4 shape: Press the stamp face down and use a scratch piece of paper to test it out

After testing it out, I made a carved out a few adjustments and now have a reusable stamp to decorate with!