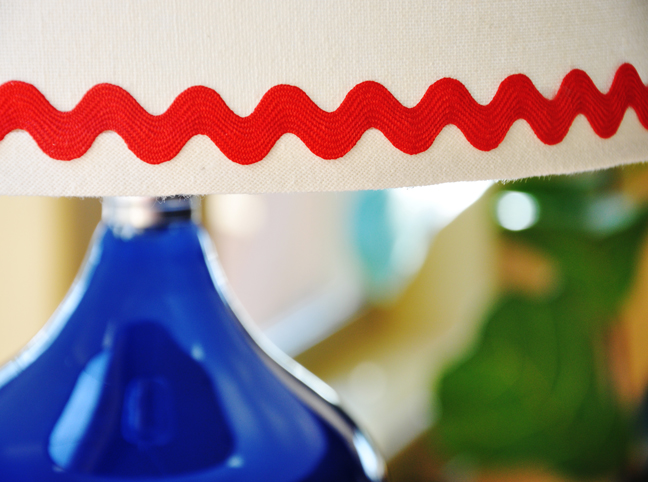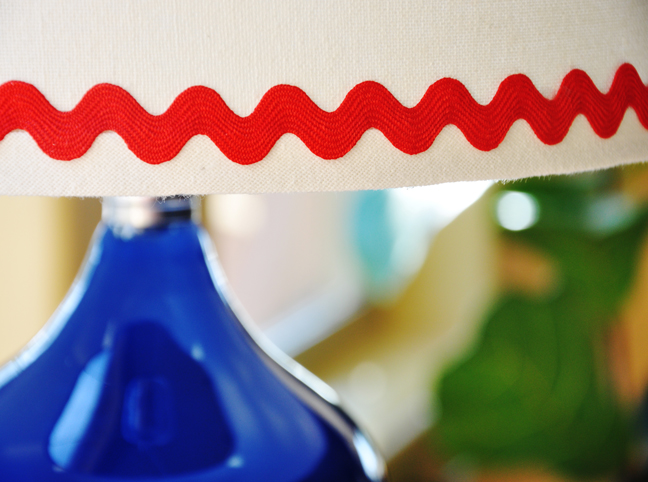
Sometimes we forget how easy and inexpensive it can be to add that simple little touch to a room. An embellishment that wakes up a tired, drab lampshade can make all the difference in a space. Here’s how!
You can make your lampshade funky for a kid’s room, or more elegant and classy for an adult area. Either way, it takes just minutes and literally pennies to get this updated look. Let’s get started!
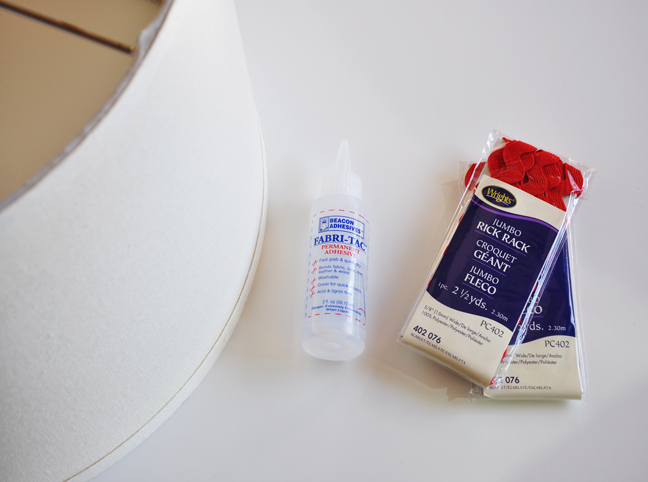
Materials:
Lampshade
1-2 pkgs of rick-rack (or any other trim)
Fabric-Tac (or you can use hot glue)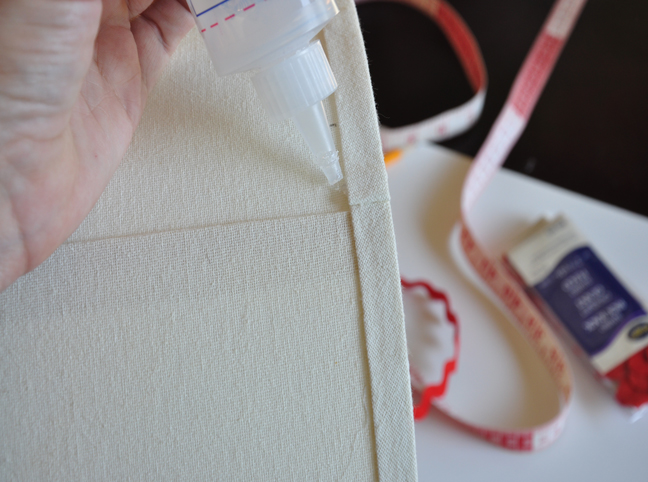
Starting at the back seam, place about an 8 inch stream of glue right along the base of the lampshade.
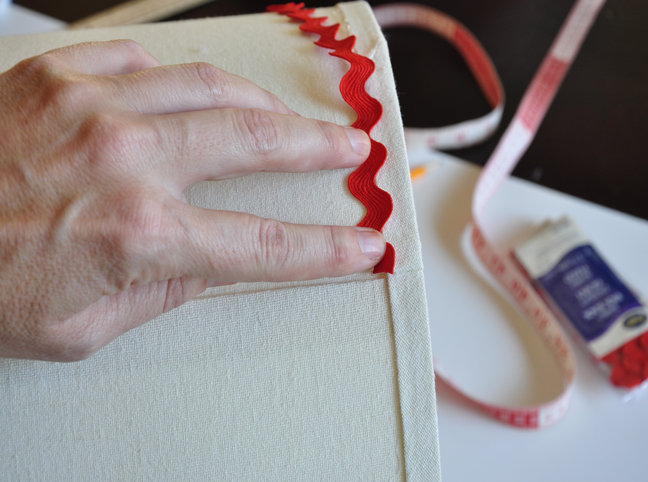
Mine had a little trim tape on it already, so I decided to lay the rick rack right in between, so that some of the lampshade was still peeking under. If your lampshade is flush, you can put your trim right at the bottom.
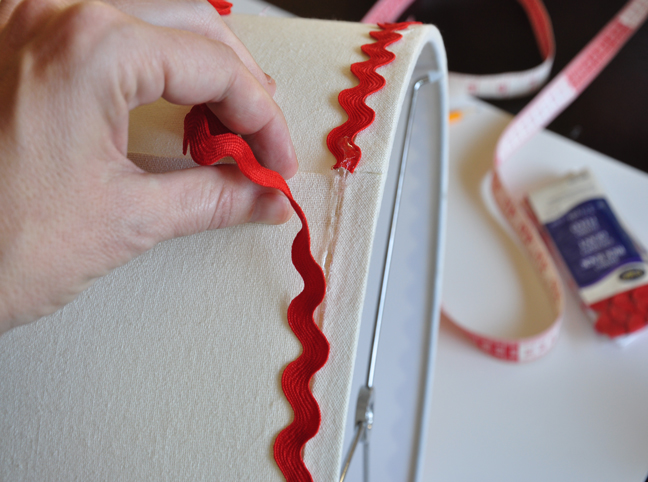
Continue gluing in 8 inch increments. This is to prevent running and the glue drying too quickly before you can get the ric-rac placed. When you get to the back, just overlap the trim a bit, cut and glue into place.
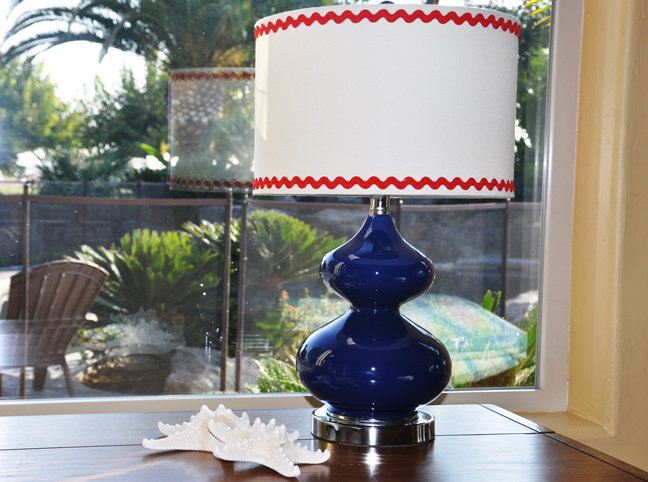
There you go! Easiest upgrade on a lampshade so far, right?
